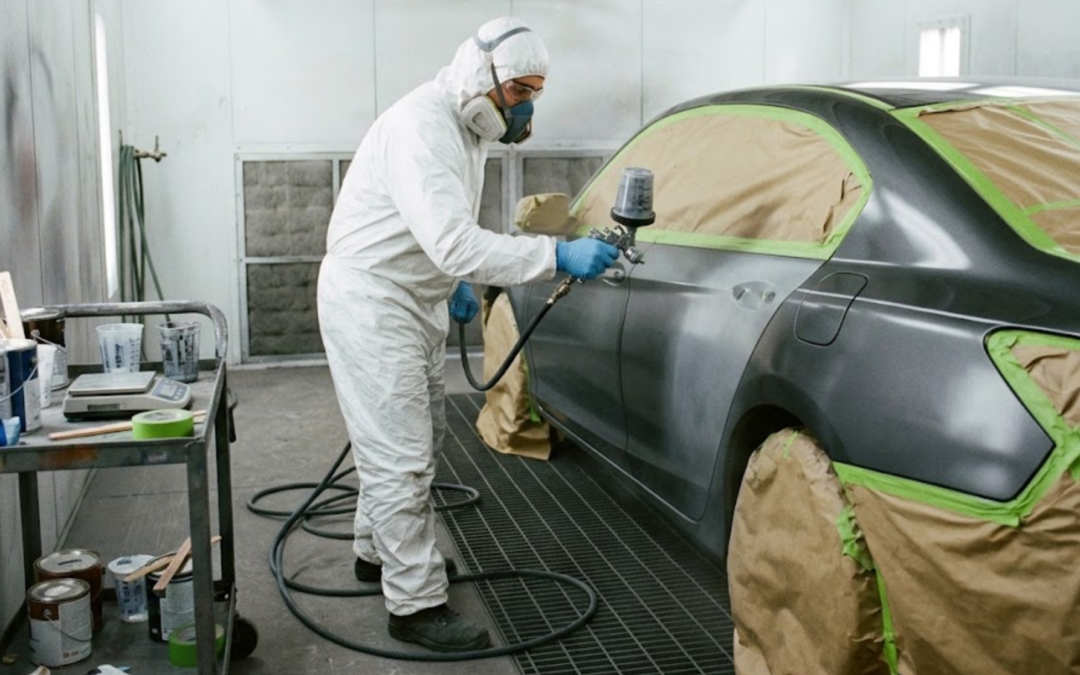
In the collision repair and automotive refinishing industry, matching factory paint is one of the most challenging tasks a painter faces. Even when using exact OEM color codes, subtle variances in metallic flake orientation, factory batch differences, surface aging, and UV exposure mean that fresh paint sprayed directly to a hard panel edge will almost always result in a visible color discrepancy.
To achieve an invisible repair where a panel replacement or spot touch-up imperceptibly merges with surrounding original paint, professional refinishers rely on the art of paint blending. By gradually tapering the coverage of the new base coat color into the existing finish before encapsulating the entire section in clear coat, you eliminate harsh color boundaries.
Blending techniques help match existing paint.
Here is a technical, step-by-step guide from the refinishing experts at Car Base Coat on how to blend Car Base Coat for completely seamless automotive repairs.
1. Preparing the Blend Zone: The Foundation of Adhesion
A common mistake during collision repair is focusing exclusively on the damaged zone while neglecting the adjacent blend area. If the surrounding panel is not properly cleaned and scuffed, the newly blended base coat and clear coat will fail to adhere, leading to premature peeling or edge haloing.
[ Repair Area Primer Sanding ] ──► Blend Zone Fine Scuffing ──► Thorough Degreasing & Static Relief
Essential Prep Guidelines:
- Feathering the Repair: Sand the repair zone primer smooth using $P600\text{ to }P800\text{ grit}$ dry sandpaper, ensuring all hard edges are thoroughly feathered.
- Scuffing the Blend Area: Scuff the entire adjacent panel where the blend will taper out using a gray ultra-fine scuff pad along with a dedicated liquid scuff paste. This creates micro-scratches for mechanical bonding without leaving visible scratch lines under clear coat.
- Surface Decontamination: Clean the entire surface twice first with a waterborne cleaner to remove water-soluble salts, followed by a solvent-borne degreased cleaner to lift oils and silicone. Finish with a anti-static tack rag wipe.
2. Applying an Intercoat Wetbed or Color Blender
Before spraying any tinted base coat onto the adjacent blend panel, applying a transparent intercoat clear or blender creates a smooth wet bed. This allows metallic particles and pigments in the subsequent passes to float and orient naturally rather than stacking dryly on scuffed paint.
┌─────────────────────────────────────────────────────────────────────────────┐
│                       INTERCOAT BLENDER ADVANTAGES                          │
├──────────────────────────────┼──────────────────────────────────────────────┤
│ Application Step             │ Refinishing Performance Impact               │
├──────────────────────────────┼──────────────────────────────────────────────┤
│ **Transparent Base Coating** │ Seals fine $P1000$ scuff scratches and keeps  │
│                              │ the blend zone wet for smooth melt-in.       │
├──────────────────────────────┼──────────────────────────────────────────────┤
│ **Flake Alignment Protection**| Prevents dark metallic edges ("halo effect")  │
│                              │ where fresh base coat meets dry clear coat.  │
└──────────────────────────────┴──────────────────────────────────────────────┘
Spraying one uniform coat of transparent intercoat blender across the blending zone gives you complete control over flake movement during the color application stage.
3. The Stepped Spray Technique for Seamless Color Tapering
Blending base coat requires a controlled reduction in material output as your spray pattern moves away from the primary repair zone toward the original factory paint.
[ Full Opacity Pass (Repair) ] ──► [ 75% Taper Pass ] ──► [ 50% Feather Pass ] ──► [ Orientation Pass ]
- Pass 1 (Full Coverage): Spray the matched base coat directly over the primed repair area to achieve total color coverage/opacity. Do not extend this first coat deep into the blend panel.
- Pass 2 (First Taper): Increase gun distance slightly ($2\text{ to }3\text{ inches}$) and extend the second pass slightly past the first coat, angling the spray gun wrist outward at the end of each stroke to feather the edge.
- Pass 3 (Final Blend): Lower fluid delivery or mix your base coat $1:1$ with clear intercoat resin. Spray a light, sweeping pass across the transition zone to melt the remaining color particles into the wet bed.
- Drop / Control Pass: For metallic and pearl colors, apply a final low-pressure drop coat across the blend area to lock the metallic flakes into a uniform, horizontal plane without mottling.
4. Spray Gun Calibration and Fluid Adjustments
Achieving a delicate blend requires adjusting your spray equipment settings away from heavy coverage setups toward fine, controlled atomization.
| Setting Parameter | Full Panel Spray Setup | Blending Adjustment |
| Fluid Tip Size | $1.3\text{mm} – 1.4\text{mm}$ | $1.2\text{mm} – 1.3\text{mm}$ (Finer droplet break-up). |
| Inlet Air Pressure | $28 – 30\text{ PSI}$ | $22 – 25\text{ PSI}$ (Lower pressure for drop passes). |
| Overlap & Distance | $70\%\text{ overlap at }6-8\text{ inches}$ | $50\%\text{ overlap with gentle wrist arc at }8-10\text{ inches}$. |
Fine atomization prevents wet paint lines from forming at the outer boundary of your blend zone.
5. Encapsulating the Blend with High-Solids Clear Coat
Once the blended base coat has flashed completely flat (typically $15\text{ to }20\text{ minutes}$), inspect the transition zone under sunlight simulation lamps to verify that no color lines or mottling exist.
To permanently lock in the repair, apply two full coats of 2K urethane clear coat across the entire panel (or double-panel section). Clear coating the whole panel ensures that no thin edge transitions are exposed to UV degradation, securing a seamless, factory-quality finish for the life of the vehicle.
Conclusion
Blending car base coat paint is the gold standard technique for achieving invisible spot repairs and flawless panel matches. By properly scuffing blend zones, applying transparent wet beds, using a stepped color tapering technique, and sealing the repair with premium clear coat, you eliminate harsh color transitions and deliver a professional finish every time.
Looking for factory-matched base coat paints, reducers, and blending resins for your shop? Explore premium refinishing products at Car Base Coat today.
Frequently Asked Questions (FAQ)
Q: Why is blending necessary if I have the exact OEM paint code?
A: Factory paint formulas vary by production batch, plant location, age, and environmental exposure. Blending tricks the human eye by spreading minute color differences over a wide surface area rather than displaying them side-by-side along a panel seam.
Q: Can you blend base coat paint without clear coating the entire panel?
A: While melting clear coat edges with blender solvent is possible on minor repairs, clear coating the entire panel is strongly recommended to prevent clear coat edge peeling and line visibility over time.
Q: How long should base coat flash before applying clear coat over a blend?
A: Base coat should flash until it dries to a completely flat/matte finish across both the repair and blend areas—typically 15 to 20 minutes depending on shop temperature and reducer speed.